
Your Cart is Empty
Thank you for using our Modern Fuel Fountain Pen. It is a precision writing instrument that has been manufactured to the highest quality standards and we hope that it will provide you many years of optimal use.
For your convenience, we have included written instructions with diagrams below. Most issues with our writing instruments can be solved quickly using the steps outlined below. Rarely, a manufacturing defect may present itself and necessitate a warranty replacement. See the information below for submitting a request for warranty service.

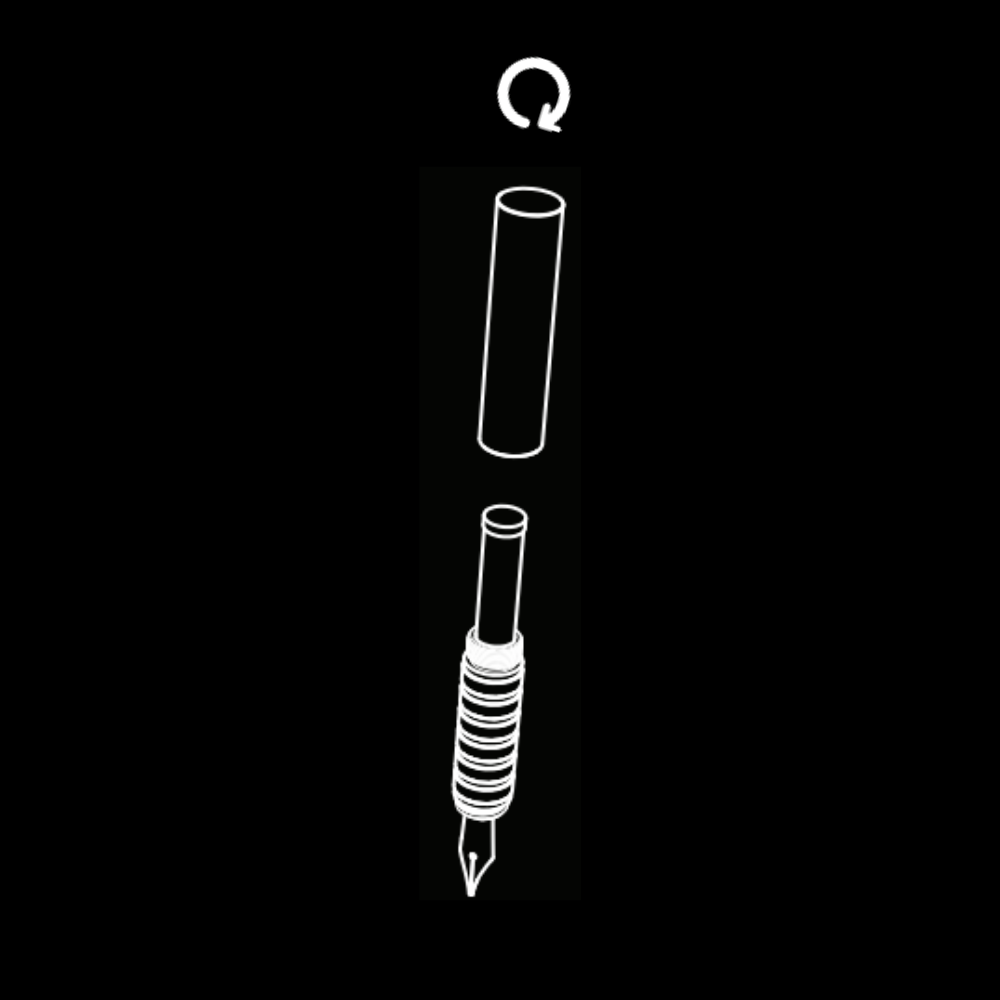
UNSCREW BODY
Unscrew and remove the BODY from the GRIP section.

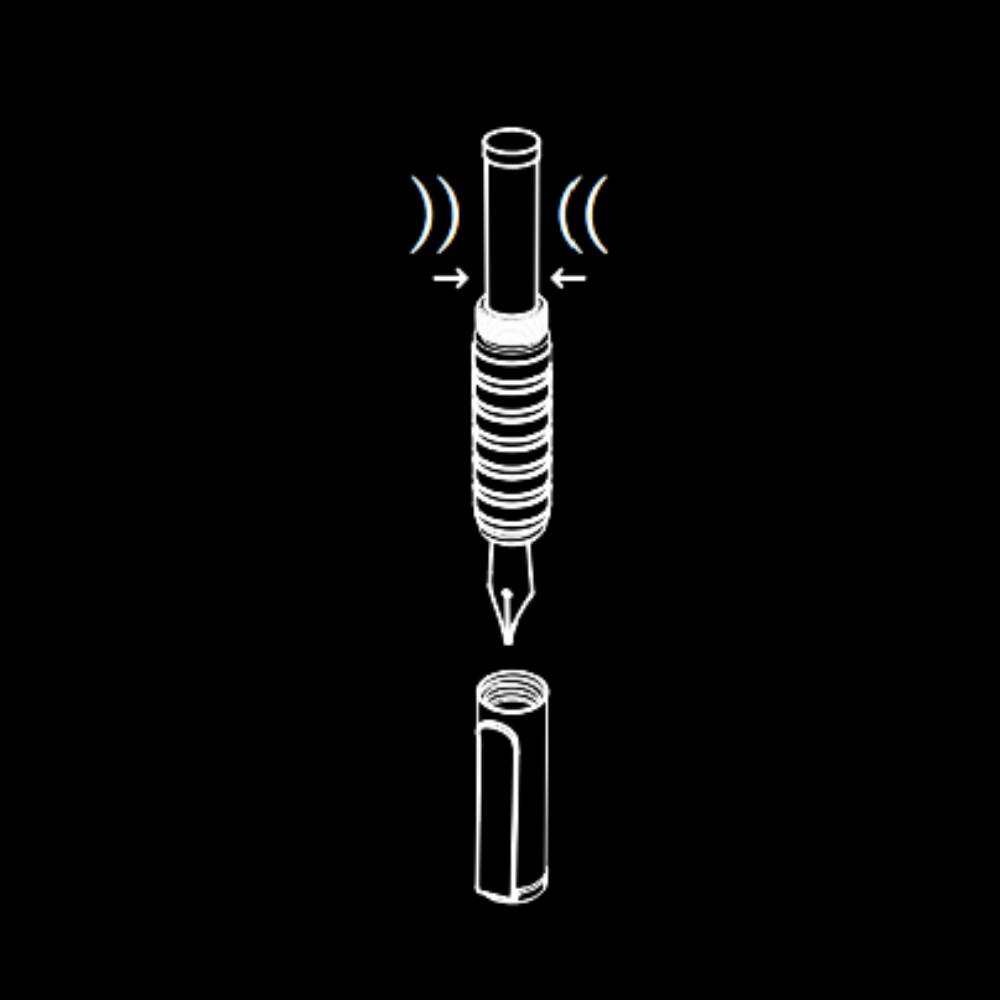
INSERT THE INK CAPSULE
Insert the INK CAPSULE into the GRIP housing until it clicks into place.
This will break the seal on the INK CAPSULE.
DRY FEEDERS AND NIBS
Remove the CAP and squeeze the INK CAPSULE a few times while holding it over a scrap piece of paper or cloth until a drop forms at the nib tip or ink dribs off the nib.
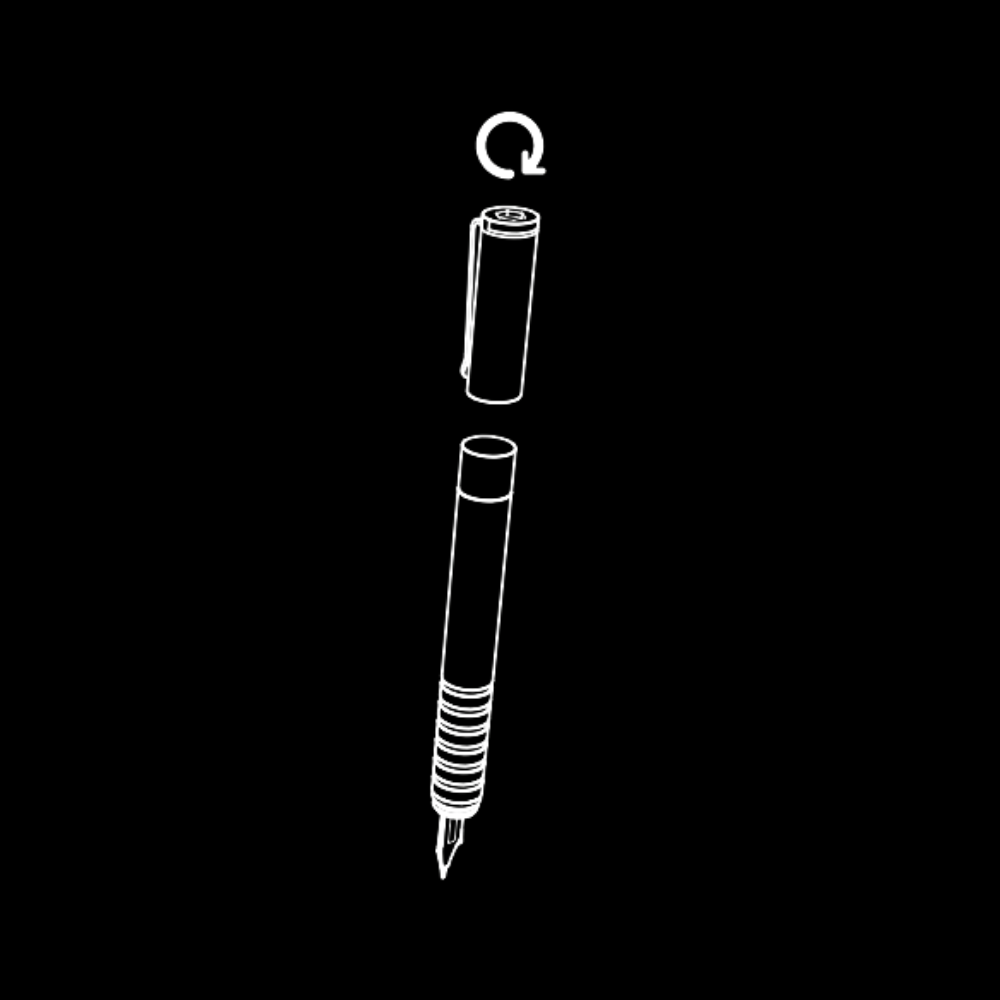
SCREW BACK THE BODY
Screw the BODY back into the GRIP section. Now your PEN is ready to write!
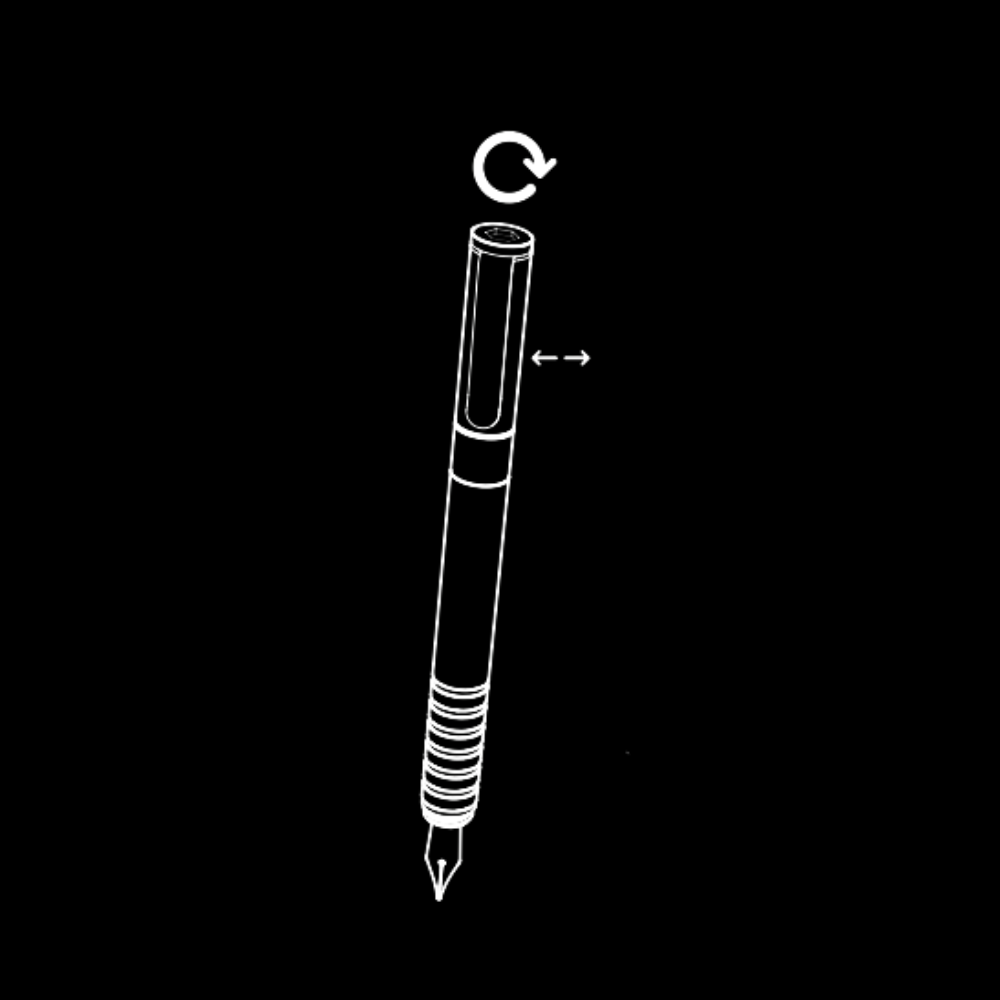
POSITION THE CLIP
Remove the cap and post it so you can position the CLIP while in the writing position.
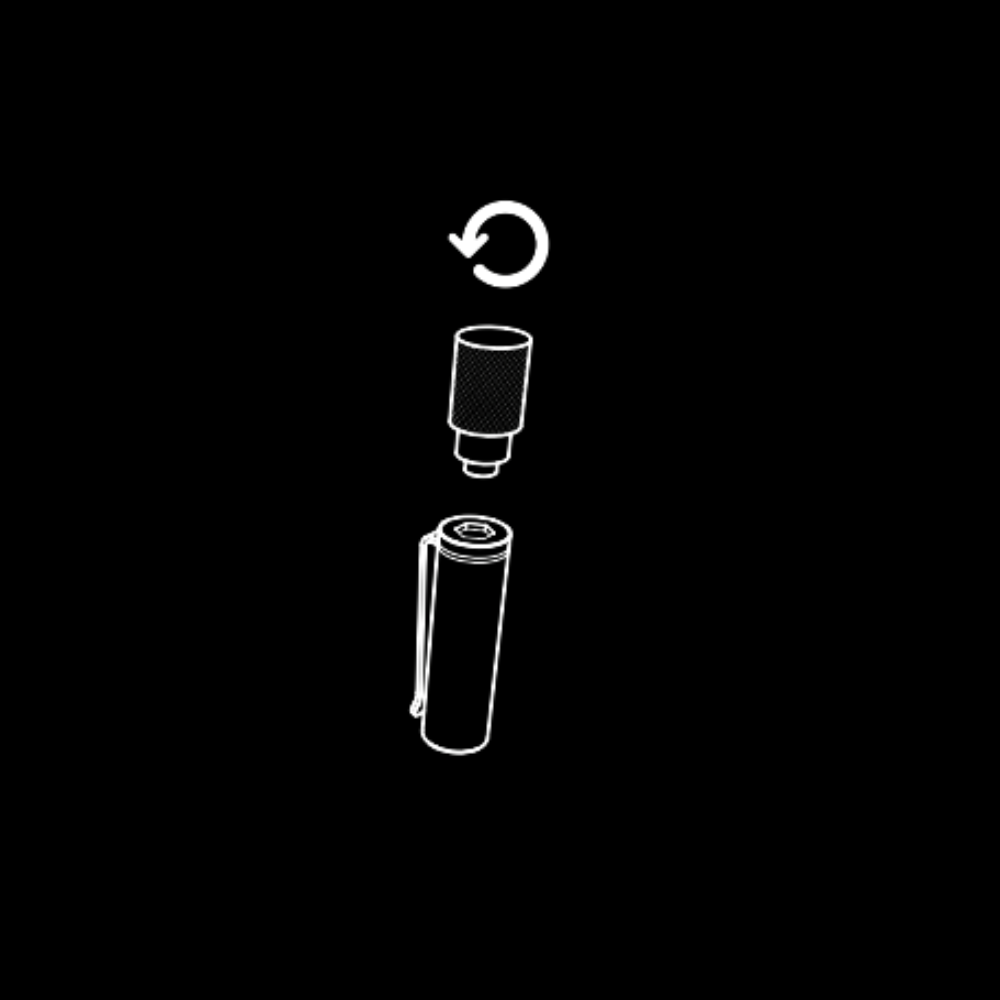
LOOSEN CAP PLUG
Use the included tool or a 5mm ALLEN KEY and loosen the CAP PLUG until the CLIP can rotate.
POSITION THE CLIP
Rotate the CLIP until it is in the desired position. Most people will line it up with the flat of the nib.

TIGHTEN THE CAP
While holding the CLIP in the desired position, tighten the CAP PLUG
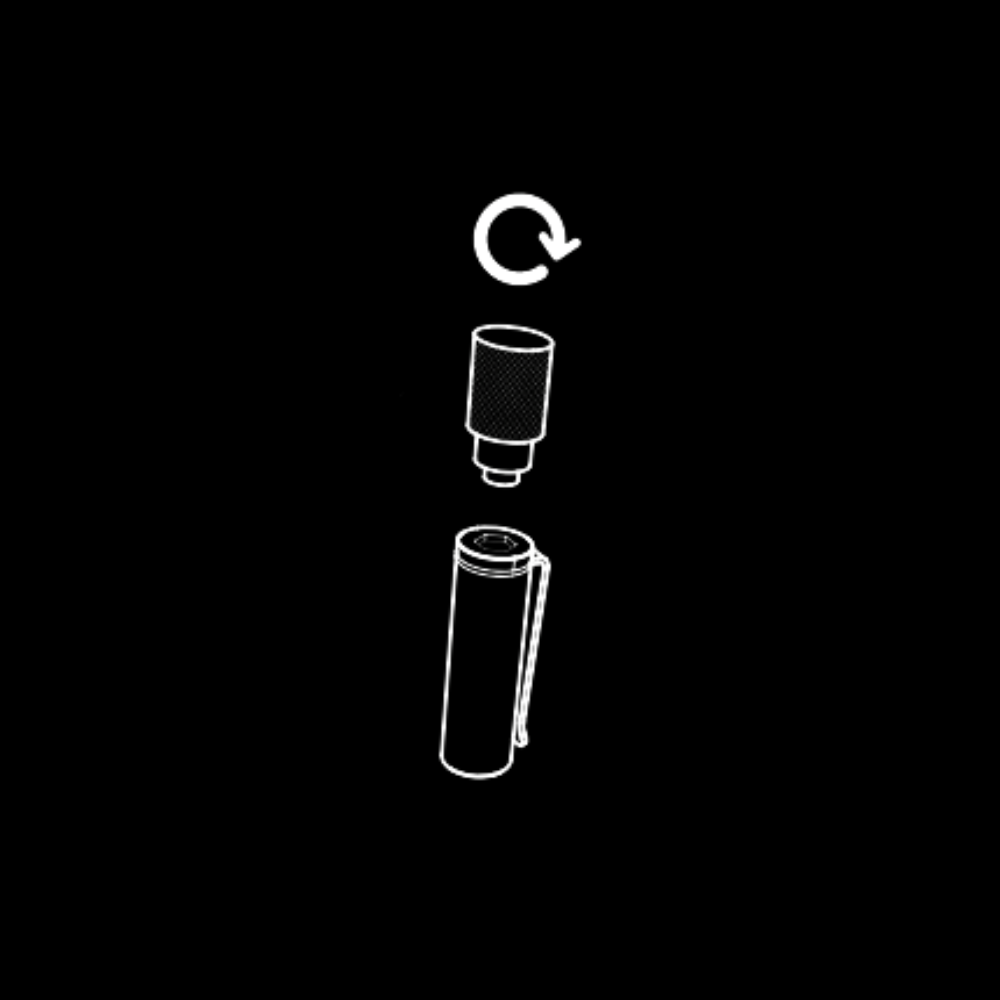
REMOVE CAP PLUG
Remove the CAP PLUG and CLIP from the CAP
TURN THE CLIP
Turn the CLIP 180 degrees and reinsert the CAP PLUG a few threads.
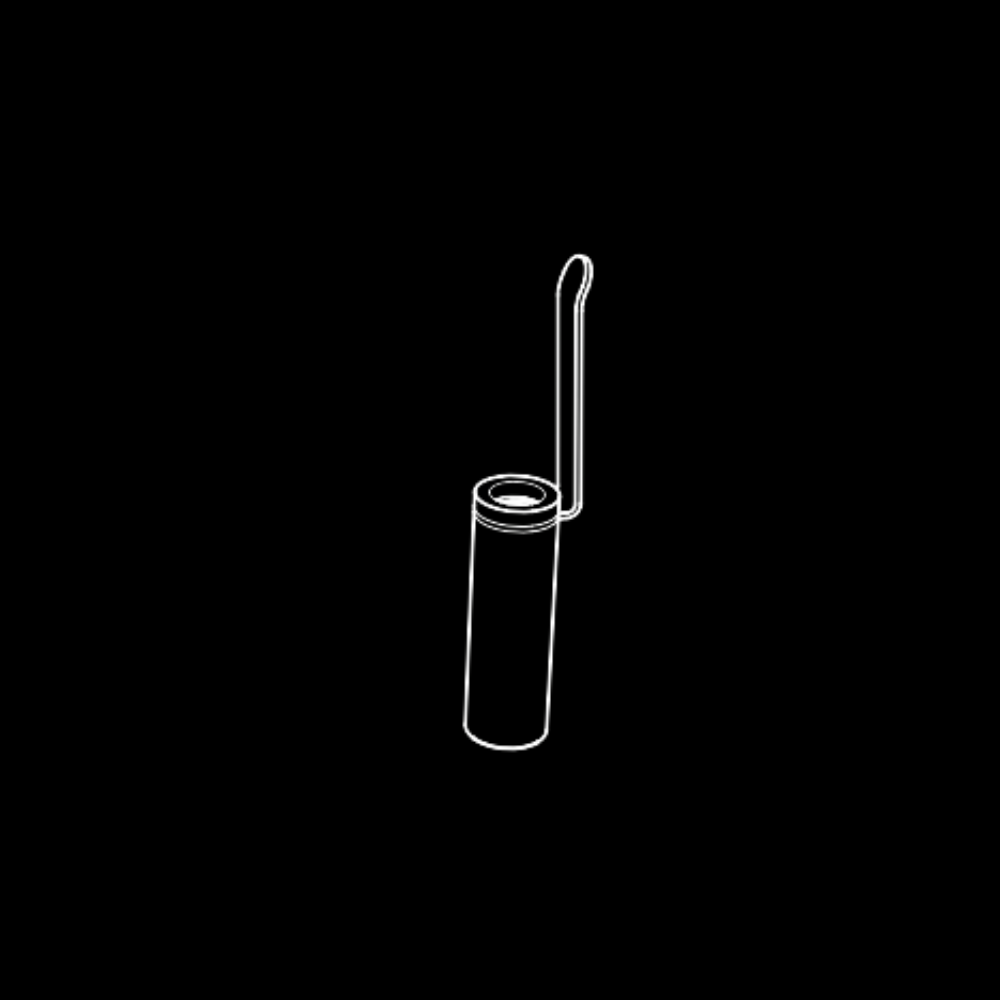
POSITION THE CLIP
Rotate the CLIP until it is in the desired position. Most people will line it up with the flat of the nib.
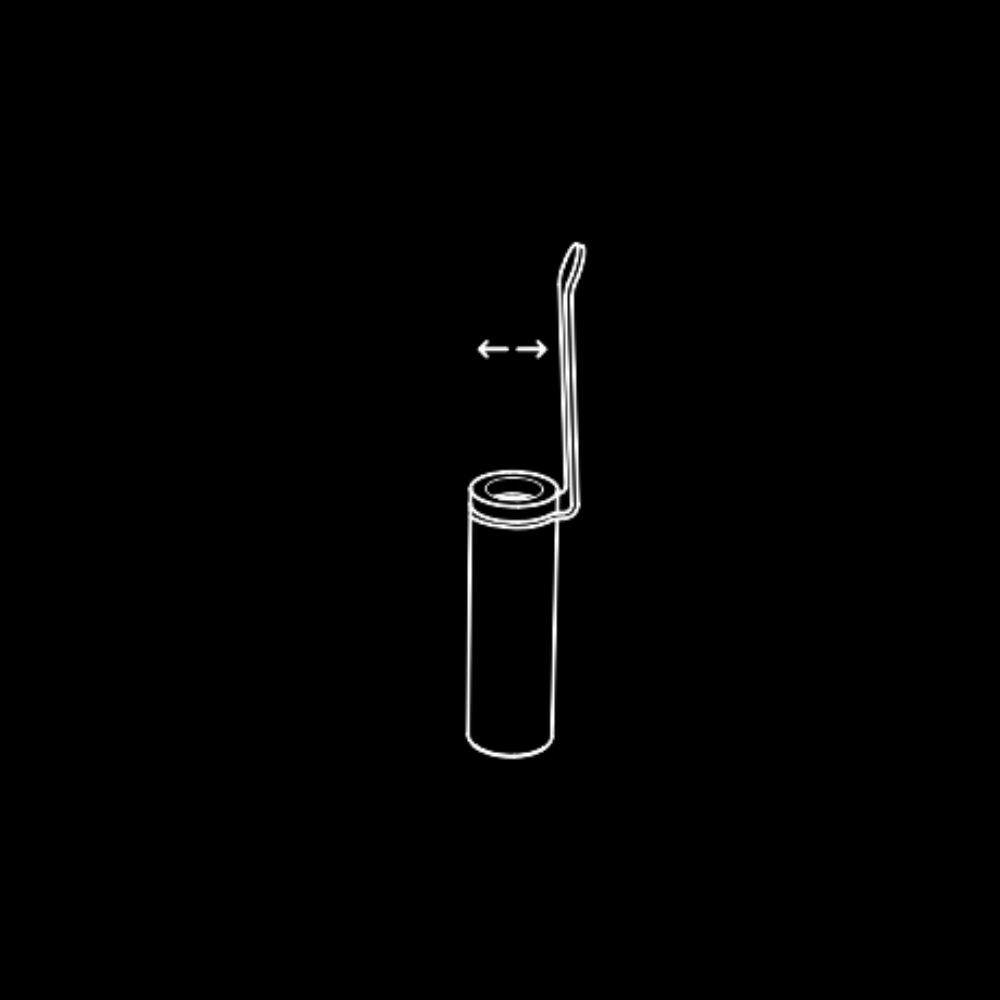
TIGHTEN THE CAP
While holding the CLIP in the desired position, tighten the CAP PLUG